1. Get Started with Sample Project
Note
Below guide is written using Eclipse IDE.
- Download sample project from Artos_Sample_Project.
- Unzip the project to a local directory.
- Open Eclipse IDE.
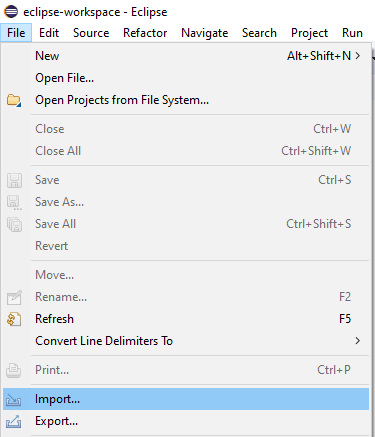
- Click on File => Import..
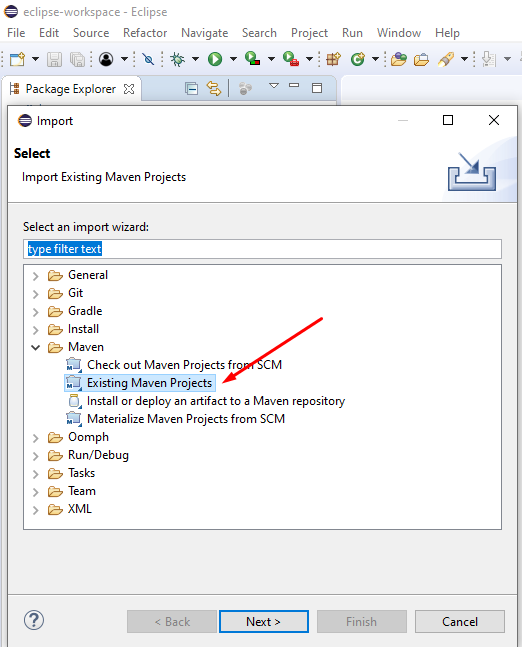
- Select Existing Maven Projects and click on Next button.
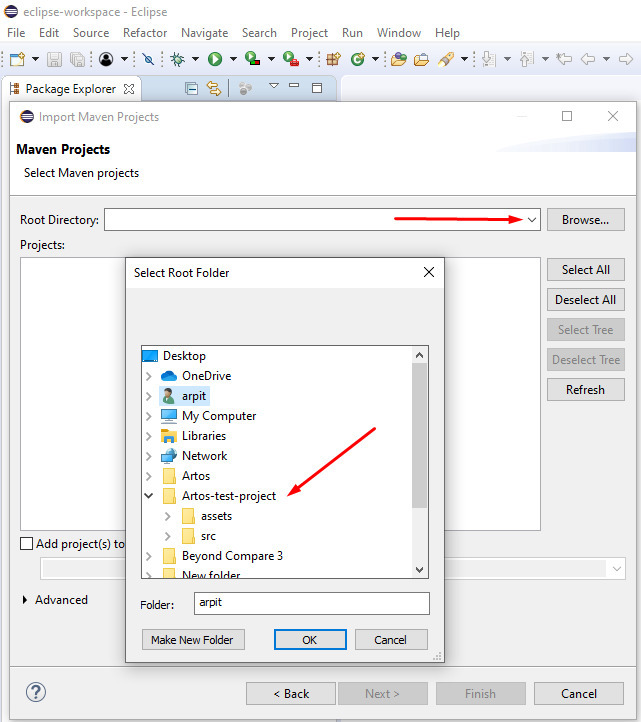
- Browse to Artos-test-project directory, select the directory and click OK button.
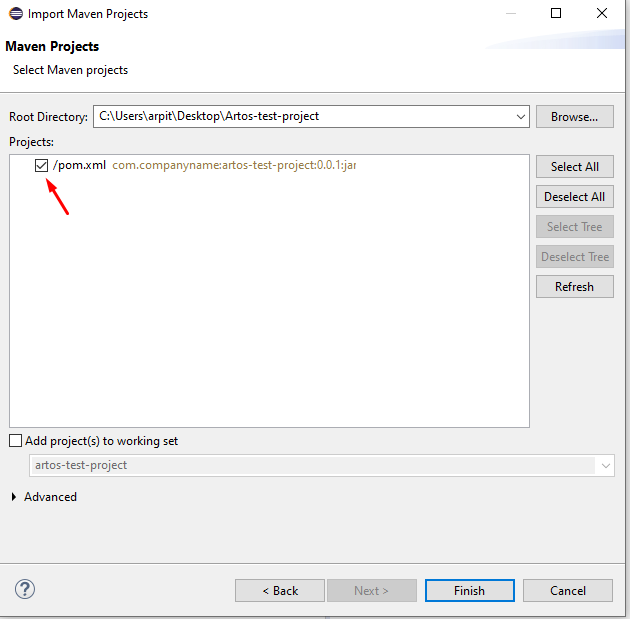
- Ensure pom.xml tick box is checked as shown below. Click on Finish button.
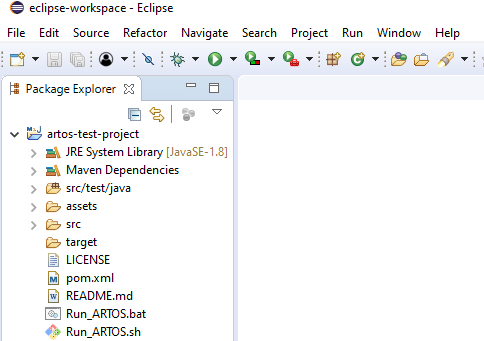
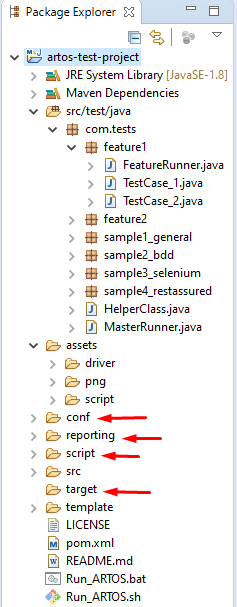
- Project will appear as shown below
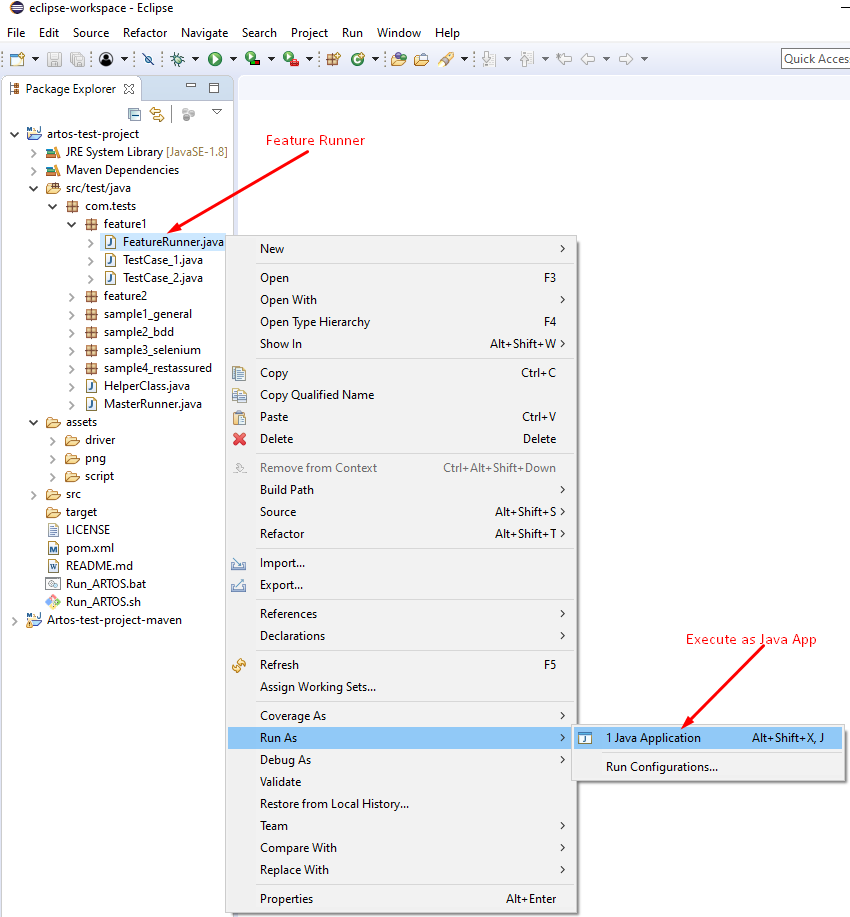
- Select Feature Runner as shown below and execute as the Java application.
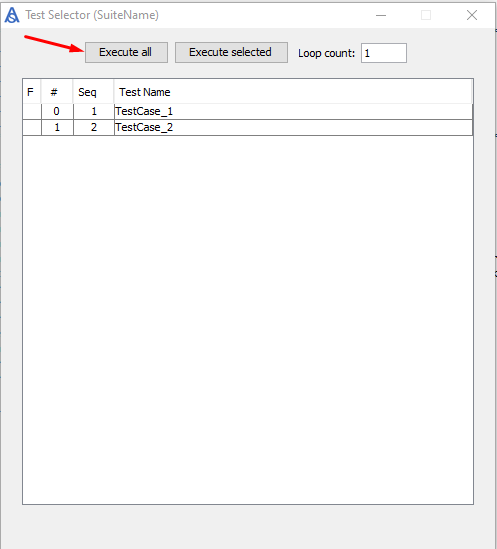
- GUI Selector will appear on the screen. Click on Execute All.
- Logs and summary will be printed on a console.
Congratulation. You have successfully run your very first Artos test suite.
- Select Artos-Test-Project, use mouse right-click and select refresh.
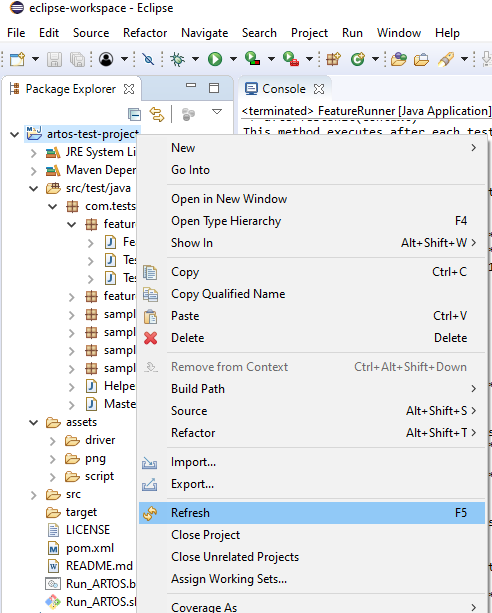
- New directories will appear. Those directories contain logs, reports, Artos’ configurations, auto-generated test script, and Artos templates to speed up test case writing.
Recommended
- Explore Artos’ directories to gain more understanding about Artos.
- Execute and explore other Runners and example codes that are designed to help user get started with Artos.
- Ask us questions on Stack Overflow with [ARTOS] tag or email Artos team for any support queries.